Ads 468x60px

Pages

Showing posts with label flowers. Show all posts

Tuesday, May 17, 2011

Tuesday Tutorial: Tea Light Flowers

Many of you may have already seen this project on other blogs called “tea light lollipops”. I did a little change to the original and decided to call them “tea light flowers”.  They are pretty easy to make, require only a few supplies, and make great favors for bridal showers and ladies luncheons.

Supplies:
Popsicle sticks or lollipop sticks
Green marker , paint , or stain
Tea light
Small plastic baggies
1 ¼ or 1 ½ inch circle punch
Tag or tag punches
Ribbon
Ink
Stamp
Glue gun
Double sided tape or tape runner
Green cardstock
Colored cardstock (of your choice)
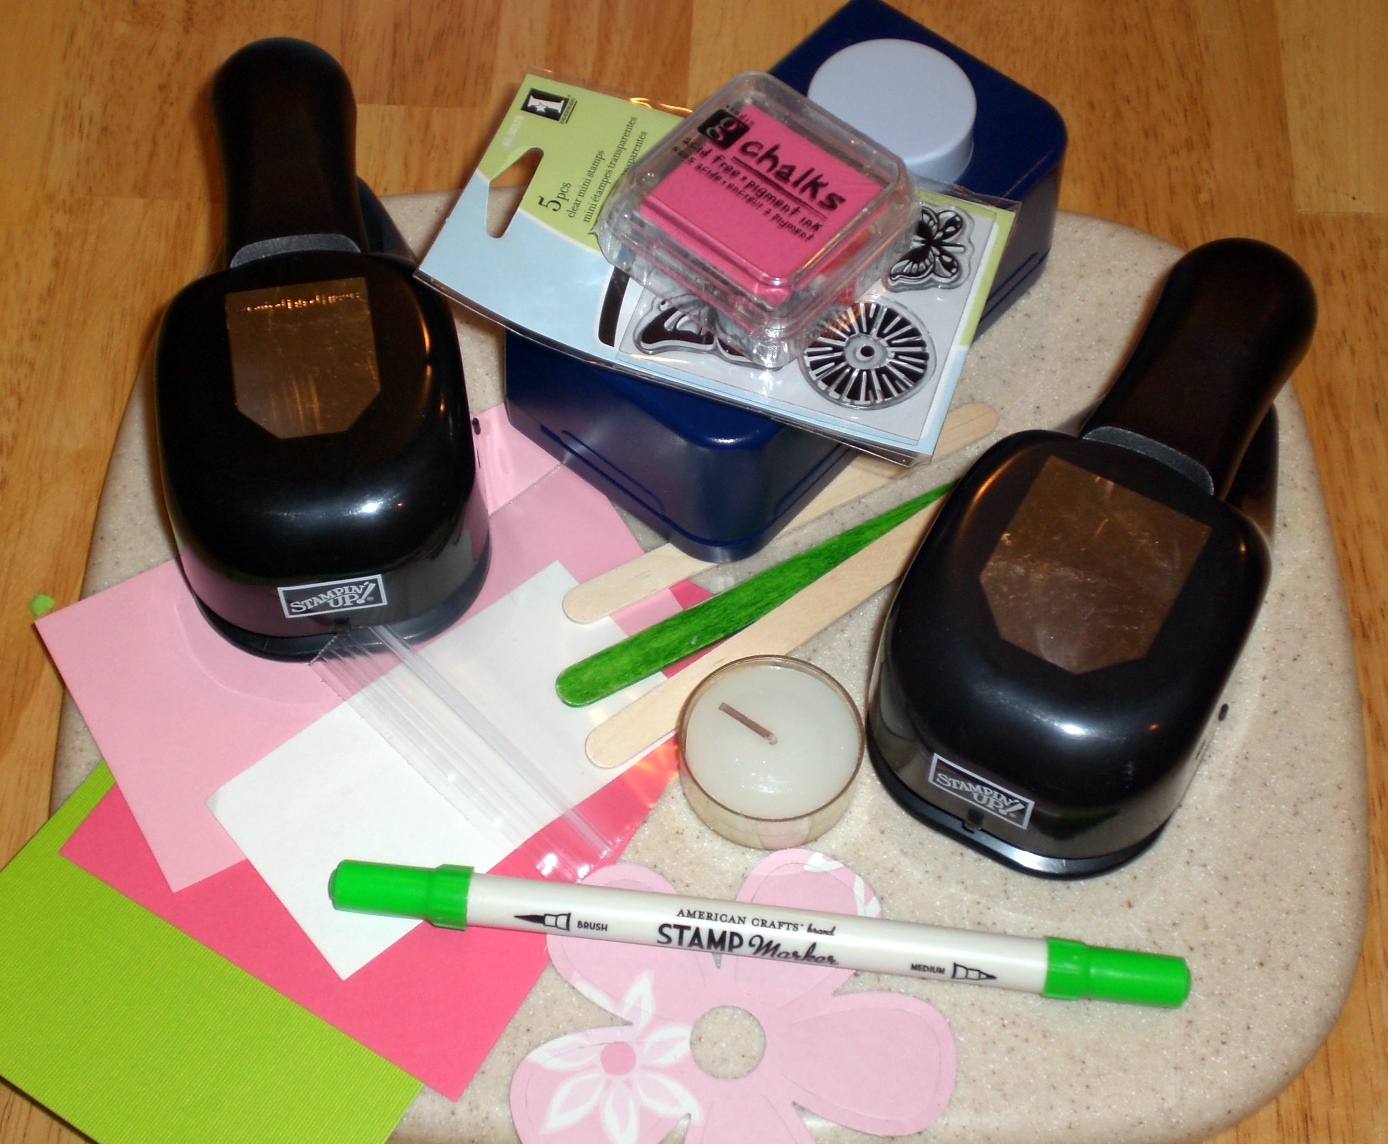

Step 1:  Using a marker, paint, or green stain color the popsicle sticks.


Step 2:  Using glue gun, glue popsicle stick to the back of tea light


Step 3:  Punch out a green circle using circle punch and glue it onto the popsicle stick to cover


Step 4:  Using store bought tag or punched out tag, stamp image or saying using coordinating ink


Step 4:  Place tea light/popsicle stick into small plastic baggie, fasten with ribbon, and add tag. 


This is where most of the other how-to’s stopped. I went one step further, because it just looked a bit plain to me. I made what looked like a lollipop into a flower.

Step 5: (optional) Punch or die cut out a flower from cardstock or pattern paper. Make sure the flower is at least 3” in diameter. Using double sided tape or tape runner, attach to the underside of the tea light.


These were so quick and easy to make that I was able to complete a dozen in just a few hours. We are selling them next month at a library craft sale and sure hope they will be a hit. Our biggest problem is that we aren't sure how much to sell them for. The supplies comes to $1 per completed flower and don't know if asking $2 or $2.50 is expecting too much or not enough.  Please post a comment to let us know what you think concerning pricing.

If you decide to make this project, please attach a link to your blog or FB post in the comment section below so that our followers can admire your work.

Happy Crafting!
Creativity Bug ~ Sue

Tuesday, May 10, 2011

Tuesday Tutorial: Poofy Paper Flowers

Hello and Happy Tuesday! We are starting a new feature on Tuesdays that will include tutorials and trash to treasure ideas.  Hopefully my creative other half (sister Sandy) will have the time to post a few tutorials of some of the trash to treasure items she has created for her home.

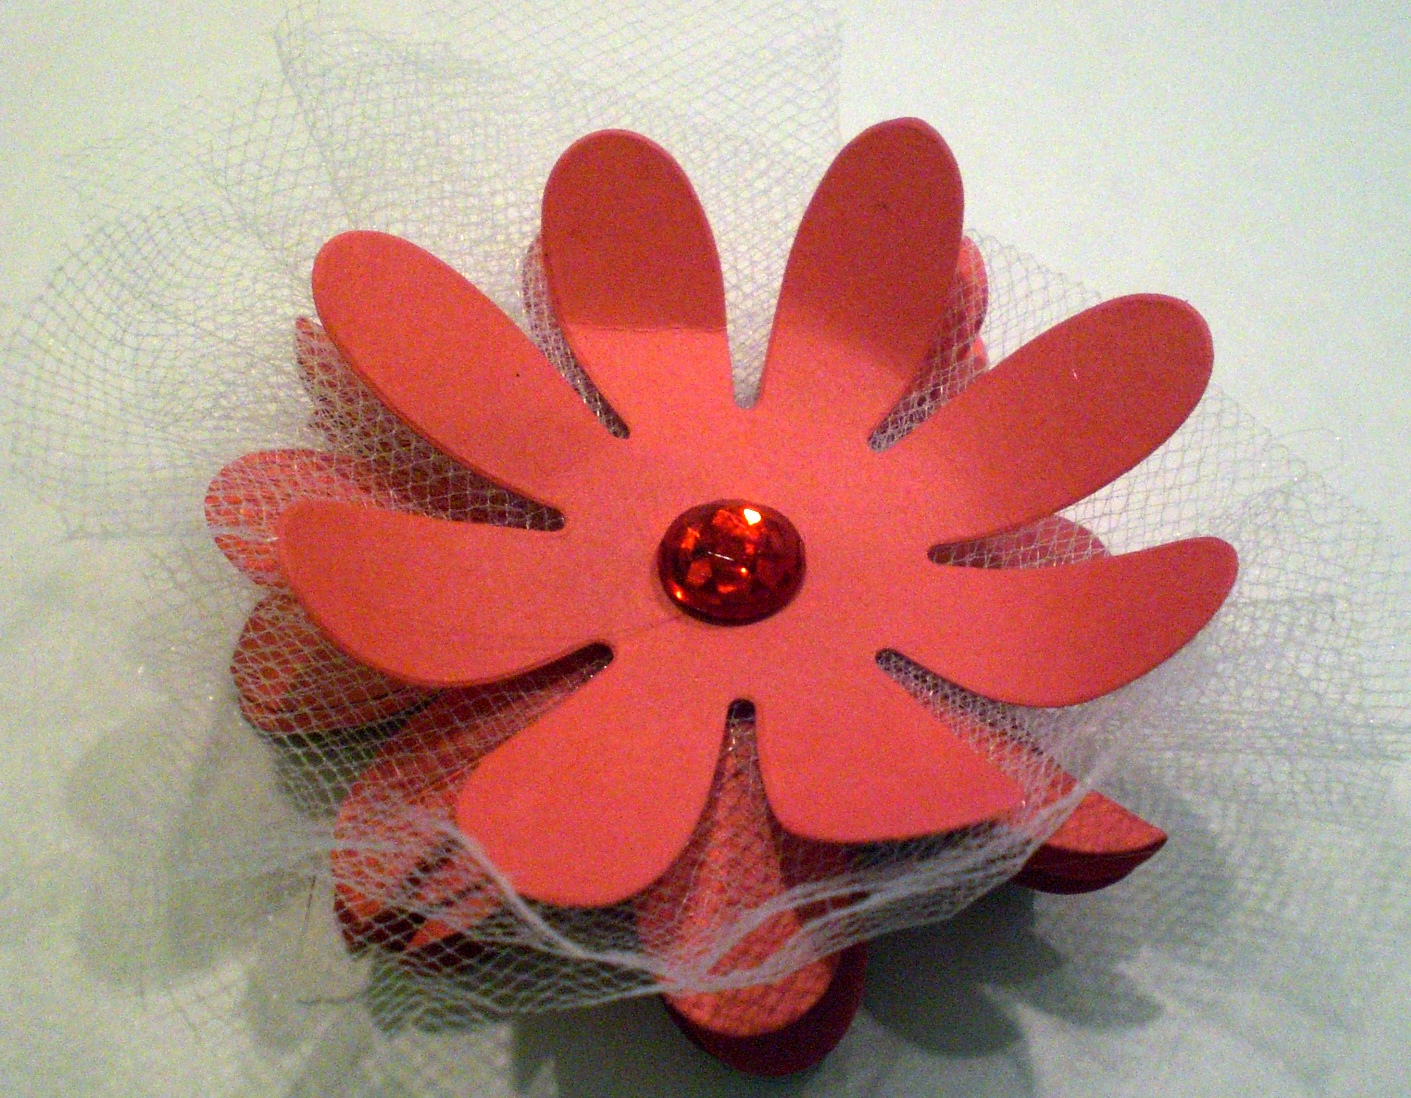
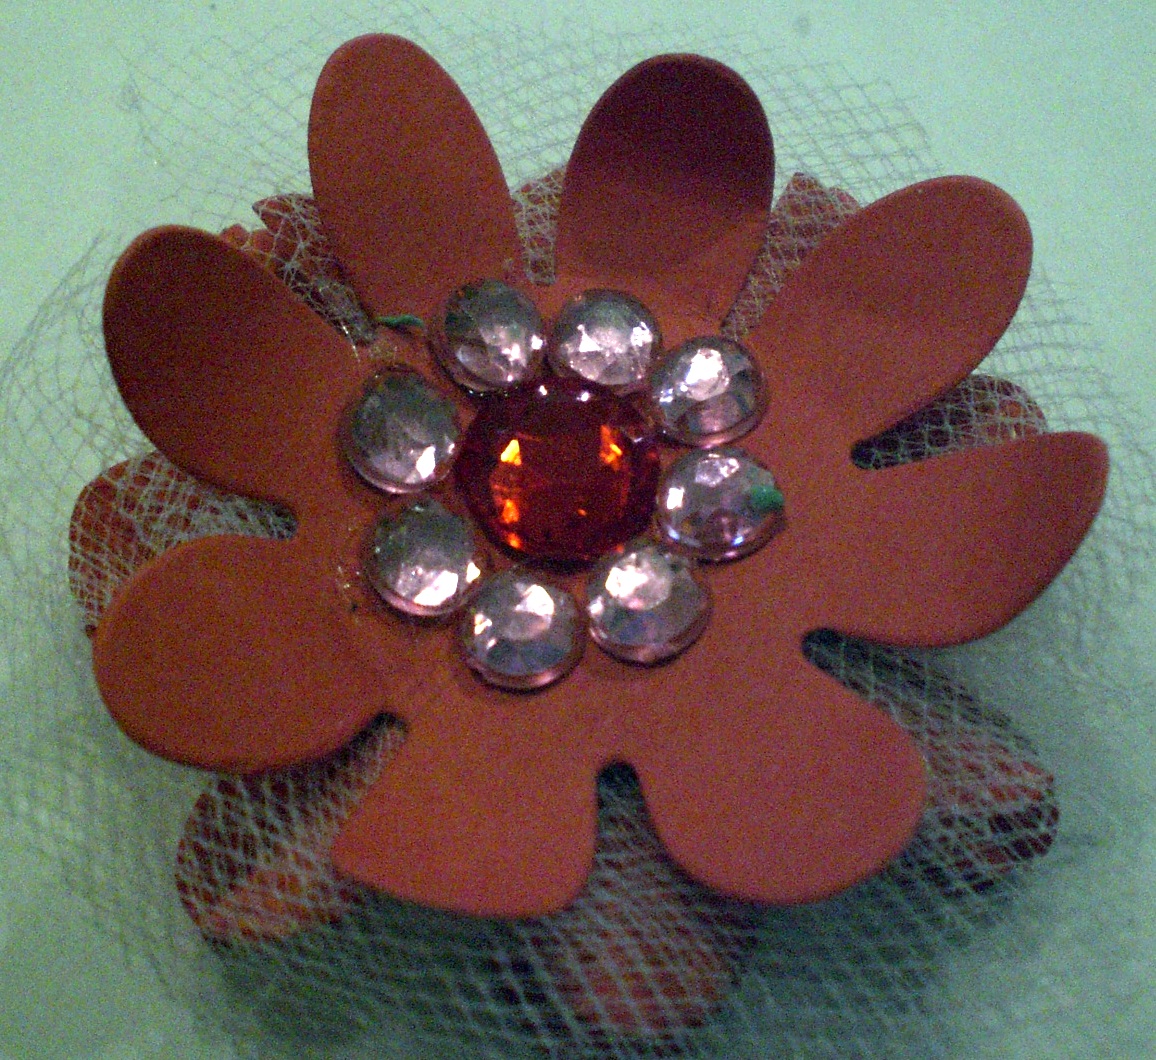
Today is a tutorial on making what I call "poofy" paper flowers. The idea is inspired by Teresa Collins, which I saw demonstrated on YouTube by 217Creations in her video called How to Make a Folded Teresa Collins Flower.

The supplies you will need include:

stapler
glue gun
tulle
5 of the same sized paper flowers (2 inches or larger)
gems, buttons, etc


Step 1:  Take one flower and fold it in half (you will do this to all but one flower)


Step 2:  Fold the flower in half once more


Step 3:  Staple folded flower #1 to folded flower #2 slightly overlapping


Step 4: Staple folded flower #2 to folded flower #3 slightly overlapping


Step 5: Staple folder flower #3 to folded flower #4 slightly overlapping


Step 6:  Fluff the stapled flower parts to "poof" up


Step 7:  Take a 6 -8  inch piece of the tulle, fold it in half, push down in the center with your finger, and staple


Step 8:  Glue tulle to stapled flower


Step 9:  Glue remaining flower on top of tulle/stapled flower and bend petals for dimension


Step 10:  Glue gems, buttons, etc. to create center of flower.


You can add Stickles, spray flower or tulle with Glimmer mist, etc. Be creative and add your own style and flair!


These big poofy paper flowers would be a great addition to gift packages as a topper, embellishments for cards, picture frames, or scrapbook pages, or can be used on other paper crafting projects.

Later in the week, I will make a post and show you a few completed projects that have poofy paper flowers used as embellishments.

Hope you enjoyed this tutorial!
Creativity Bug ~ Sue